Capture One 21 was launched a week ago as the latest iteration of my favourite RAW processing software.
So, lets get one thing out of the way immediately – are the new features worth upgrading from version 20? In reality, even though this remains my post processing software, I don’t think so. When a software gets an upgraded name I expect there will be many new features, and version 21 is a bit of a disappointment.
I understand why the need to produce a version 21, after all we are nearly at the end of 2020 ad it would look a little strange to continue with the 20 numbering as we enter the new year. However, that is a marketing situation, and the new features are, in my opinion, really version 20.1, not version 21.
So, that being said, what have we actually got for our money.
New features
Speed editing
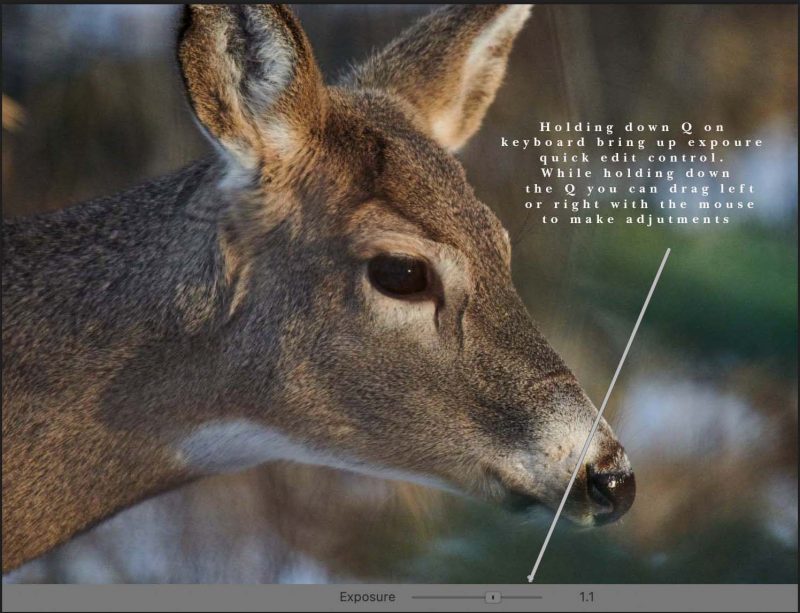
Speed editing allows you to use modifier keys and drag left or right and up and down to make adjustments. For example, to change the exposure value, hold down the Q key on your keyboard and an exposure tab will open under the image. You can adjust the exposure by mouse dragging left ad right.

OK, this does allow me to keep my eye on the image I am editing and not have to go looking for the adjustment sliders, and may be marginally quicker. Is it a huge new feature? Probably not for me, but may be for some users.
Q – adjusts exposure
W- adjusts contrast
E – adjust brightness
R – adjust saturation
A – adjusts highlight
S – adjusts shadow
W- adjusts white
E – adjust black
Z – adjusts clarity
S – adjusts RGB shadow
W- adjusts RGB midtone
E – adjust RGB highlight
You should by now have realized these modifier keys are the first 4 keys on each line of the left end of a standard keyboard. As with almost everything else in Capture One, if you don’t like these modifiers you can change them to suit your own taste.
Dehaze
Adobe Lightroom has had a dehaze tool for a while. Capture One has now added this. Yes, it’s a useful edition, but it’s also true to say that you could always dehaze an image, and still can, with far greater control by using a mask on the layer to dehaze, and adjusting the clarity, contrast, brightness and the shadow point.
Pro standard profile

Version 21 has introduced new camera profiles with more to be added soon. The new profiles should provide a sightly more true to life rendering of RAW images. I have looked at images from my D850 in both the Generic D850 and D850 Prostandard and there is a small difference in the colours that should give a better starting point for colour grading.
Learn
Capture one now boasts a built-in range of help screens and videos to assist photographers in using the various tools. Helpful no doubt for a short while while learning the program but of limited use to seasoned users.
Faster asset management
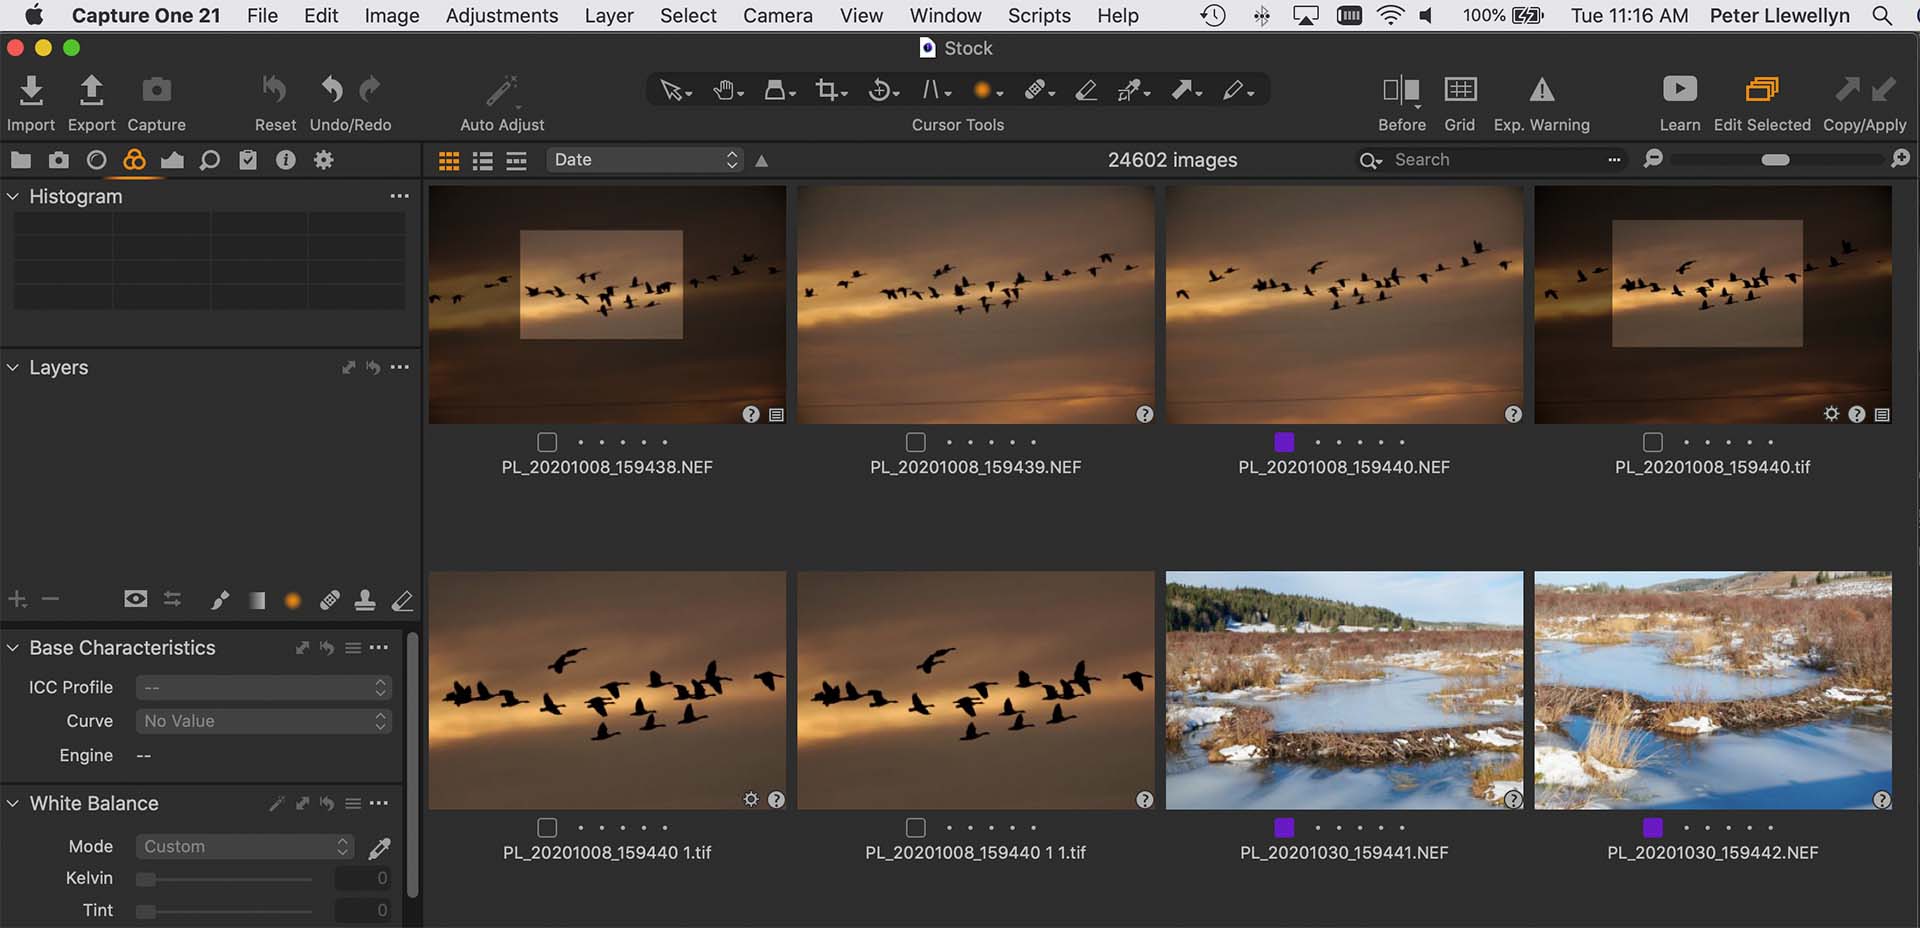
Now we come to the feature that I have been most concerned about in previous versions, the speed of searches and browsing through catalogs. Search speed has for long been outstripped by Adobe Lightroom, and when you have huge catalogs as I do, that I regularly need to find a particular image within, it has often been a frustrating exercise. Well, this has been addressed in the latest version and searches zip along at about the same speed as in Lightroom. Score one for Capture One 21!
In addition importing new images has been much improved, now allowing import from multiple folders at the same time. High resolution previews are generated much quicker now allowing one to start work on images much sooner when ingesting a large folder of images as I often have to do – score two for Capture One 21!
Hopefully in the coming months there will be some additional features that will make me feel better about the upgrade price. However, as I have mentioned before, Capture One is still my RAW processing software choice and I believe will continue to be so.
If you have not tried Capture One then download a fully working 30 day trial coy here


