Several people have asked how I produced the ‘Lady in Red’ photos recently posted to my Instagram account.
Here are the steps I use in Photoshop.
- Choose a photo that will convert well to black and white but which has a small area of a vibrant colour that you can bring back. Bright warm colours generally work best i.e. reds and oranges. Good subjects that work well are a bright red vehicle, red rose, red dress etc.
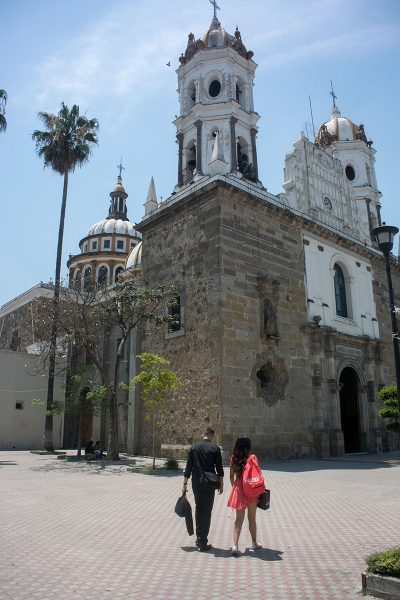
El Santuario de Nuestra Señora de la Solidad (The Sanctuary of Our Lady of Solitude), Tlaquepaque, Mexico
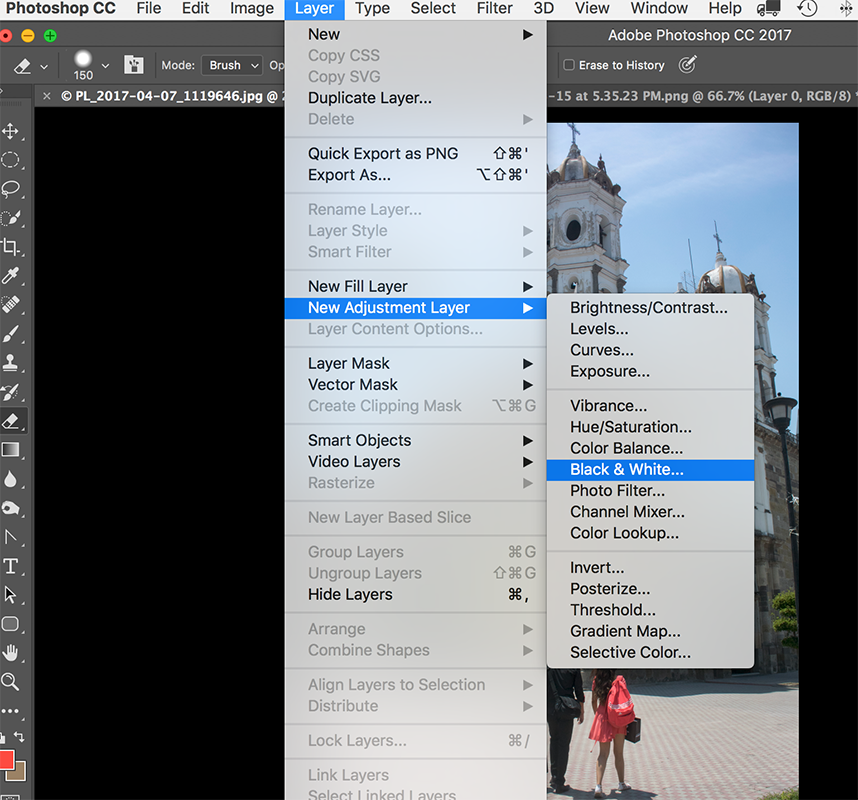
- Open the image in Photoshop and create a black and white adjustment layer

- With the new adjustment layer active you will now see a black and white version of your image
- Select the Eraser tool (This may be hidden behind other eraser tools)
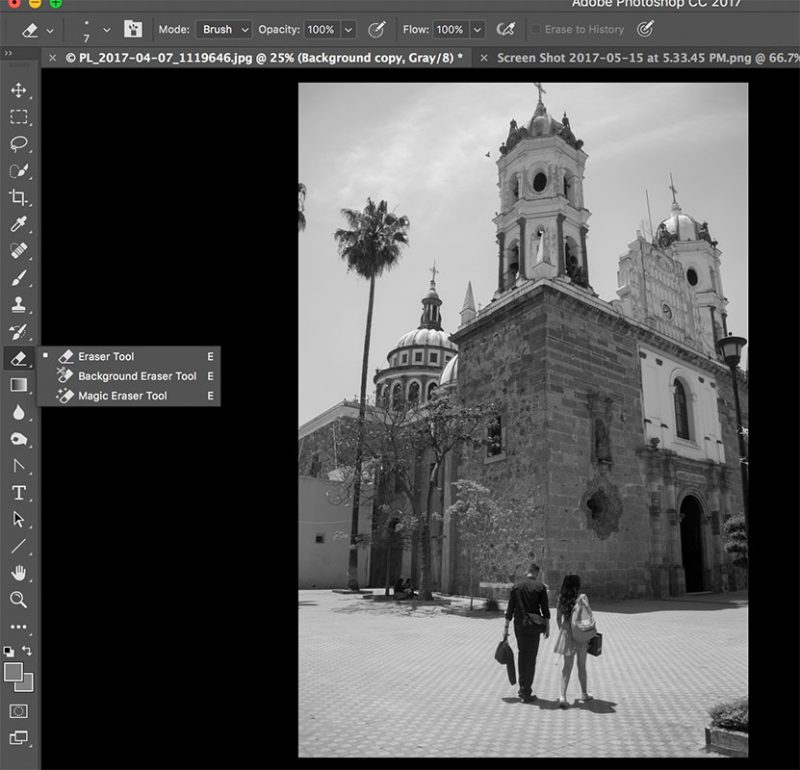
Select the eraser tool
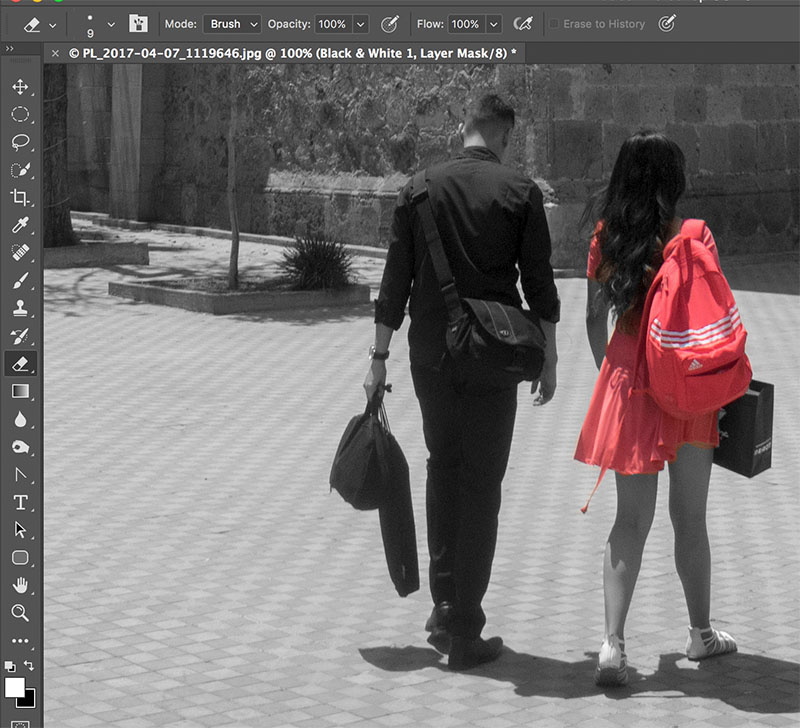
- Use a suitable sized brush with a fairly hard edge and carefully paint away the top layer revealing the colour underneath. It helps to zoom in on the area you are working on. If you have a pressure sensitive tablet it makes this much easier than using the mouse
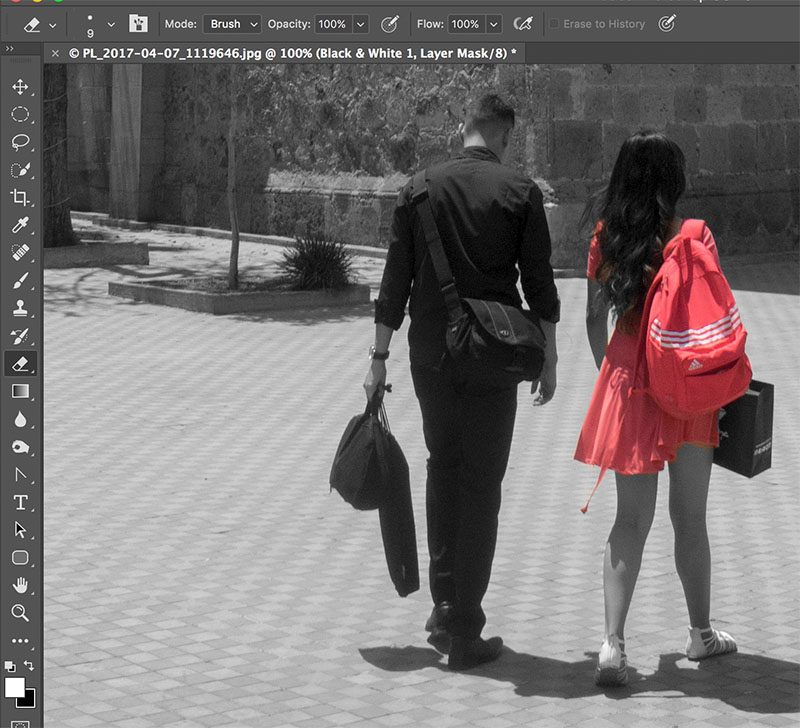
Paint away to reveal the layer beneath
- Now flatten the image into a single layer )Layer-Flatten image


And that’s all there is to it!
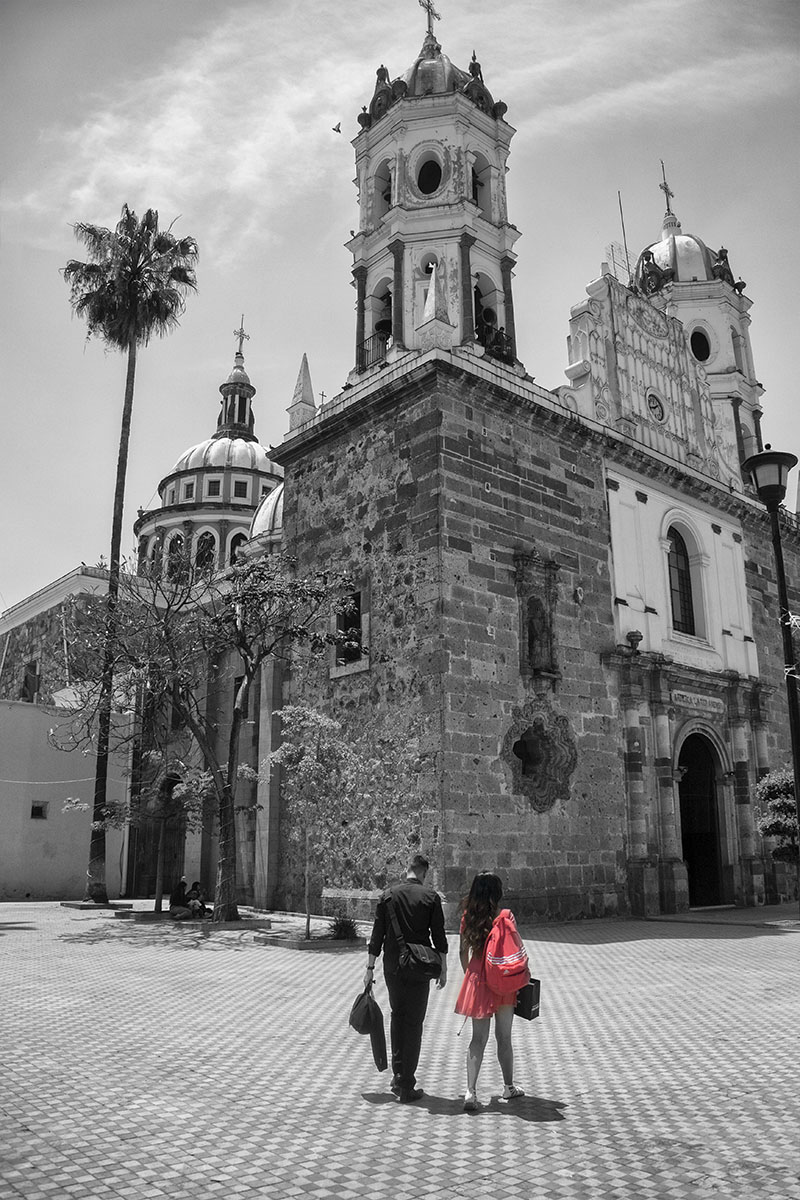
Lady in red